Starting with Blender 2.79
Epic fight uses custom animations for multiple actions in game, from drinking, eating to even attack combos. These animations are handled by [Blender], a 3D open source software for modeling, animating, texturing, composition, rendering and video editing.
It may seem overwhelming to work with [Blender], but here I'll only be teaching you the absolute necessary to work with epic fight.
Note
Installing blender
To install [Blender] (2.79) head to the following website:
Make sure to select the correct version that corresponds to your Operational System. (Here we'll be using Win 64x bits)
Extracting and Running ...
After downloading the correct file from the [Blender] index, you can extract the files using your preferred program.
After extracting the files, verify that [Blender] runs correctly. To test this, open the folder hierarchy and launch Blender.exe. If a window appears, [Blender] has been successfully installed.
Json exporter
To install the custom Blender Exporter, visit the repository and download the master branch by following these steps:
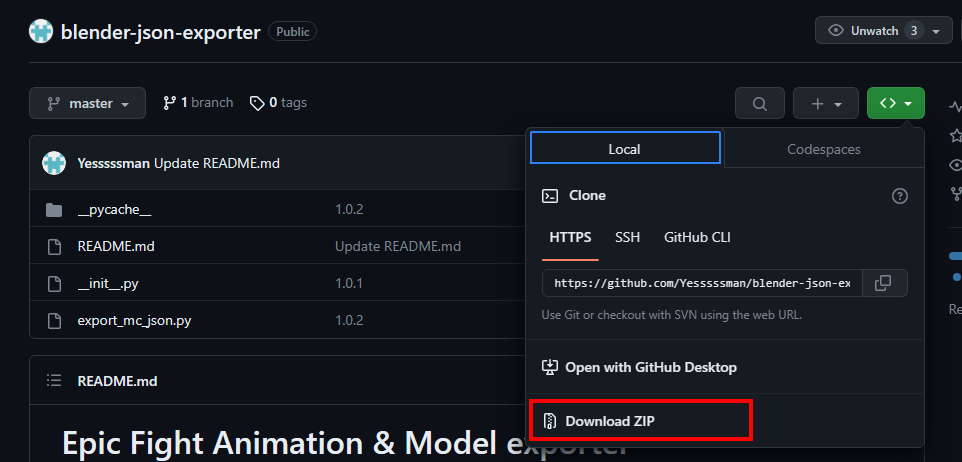
- Go to the folder where Blender is installed, move all files under /2.79/scripts/addons/xxxxxxxx/.(You should create a new folder, represented here by the multiple Xs, it's naming does not matter)
- Go to Blender File User Preferences Add-ons, And find an add-on named "Import-Export: Minecraft Model Json Exporter"
- Check the checkbox and Click "Save User Settings".
- As you can see when you click to export, you'll be able to generate a json file, in which you can choose to select 3 options, Mesh, Animations and Armature, but we'll see those later.

Learning the basics
First of all we should learn how to actually work with blender, how to move around a few useful keybinds and what each mode does. As a start, we'll be learning how to move around with blender.
-
Controls
Navigation Controls:
Camera rotation: Mouse3
Camera position: Shift + Mouse3
Zoom In/Out: Scroll Up / Scroll Down
Front, side, top views: NumPad 0-9Object Mode:
Select: Mouse2
Delete selected object: X or Del
Join selected objects: Ctrl + J
Grab/move object: GEdit Mode:
Loop Cut: Ctrl + R -
Saving & Exporting
Right under file, you'll find the following window:
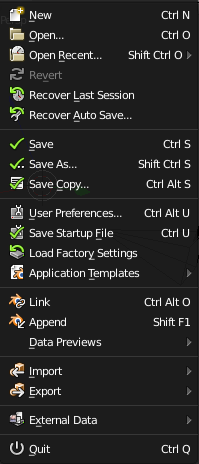
You may export, save & do various other needed tasks through this window in the following guides. -
Keyframe Saving
Keyframes are an essential part of animation, allowing you to save a bone’s rotation, location, and scale at specific points in time.
Rot = rotation
Loc = locationUsing visual keyframe saving records the bone's attributes exactly as they appear, including any changes made by bone constraints. This means that visual keyframes capture the final, visually altered positions, rotations, and scales of bones influenced by constraints.
In contrast, standard keyframe saving does not include these bone constraint effects. It only records the bone's raw transformation data (rotation, location, and scale), ignoring any alterations caused by constraints. This can be useful if you want more control over the underlying transformations without being affected by visual adjustments from constraints.
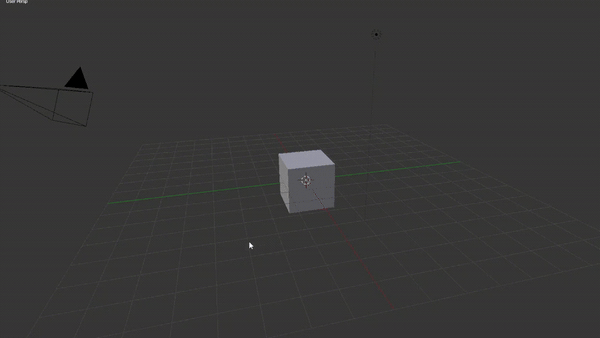
Moving your camera
To move your camera rotation, you can press your mouse wheel and move your mouse with it pressed. After you do that, you'll probably see something similar to this:
Now if you want to move your camera's location you can press your middle mouse button + Shift. You'll be able to see something like this:
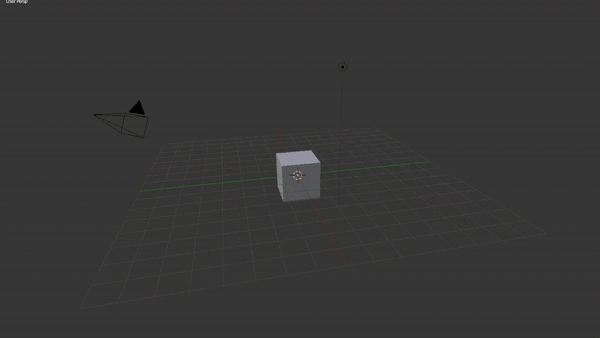
Good work! Now you know how to move your camera around.
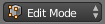
Edit & Object mode basics
In short, edit mode is used to edit objects geometry and their origin location, rotation and scale in a project. We often use edit mode to change models in ways that are simply not practical with Object mode. One of the ways we use edit mode is to add in Bones to a rig and their origin position (and by origin position i mean their actual position, scale, rotation in a project, where they'll go after you reset their object location rotation and scale)
So lets say you have a rig and you want to create a new animation, instead of having to manually change each and every bone to a new position, you can simply reset the whole skeleton to their original position that was set in Edit Mode, and from there work on a new animation, improving your workflow and making it easier to create new animations or frames to already existing ones.
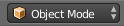
We rarely use Object mode in epic fight, but basically, Object mode allows you to edit objects individually. You are also able to resize, change location and rotation of objects in Object Mode, without affecting their origin).
-
Watch this video if you want a more in depth explanation on what Edit and Object Mode does.
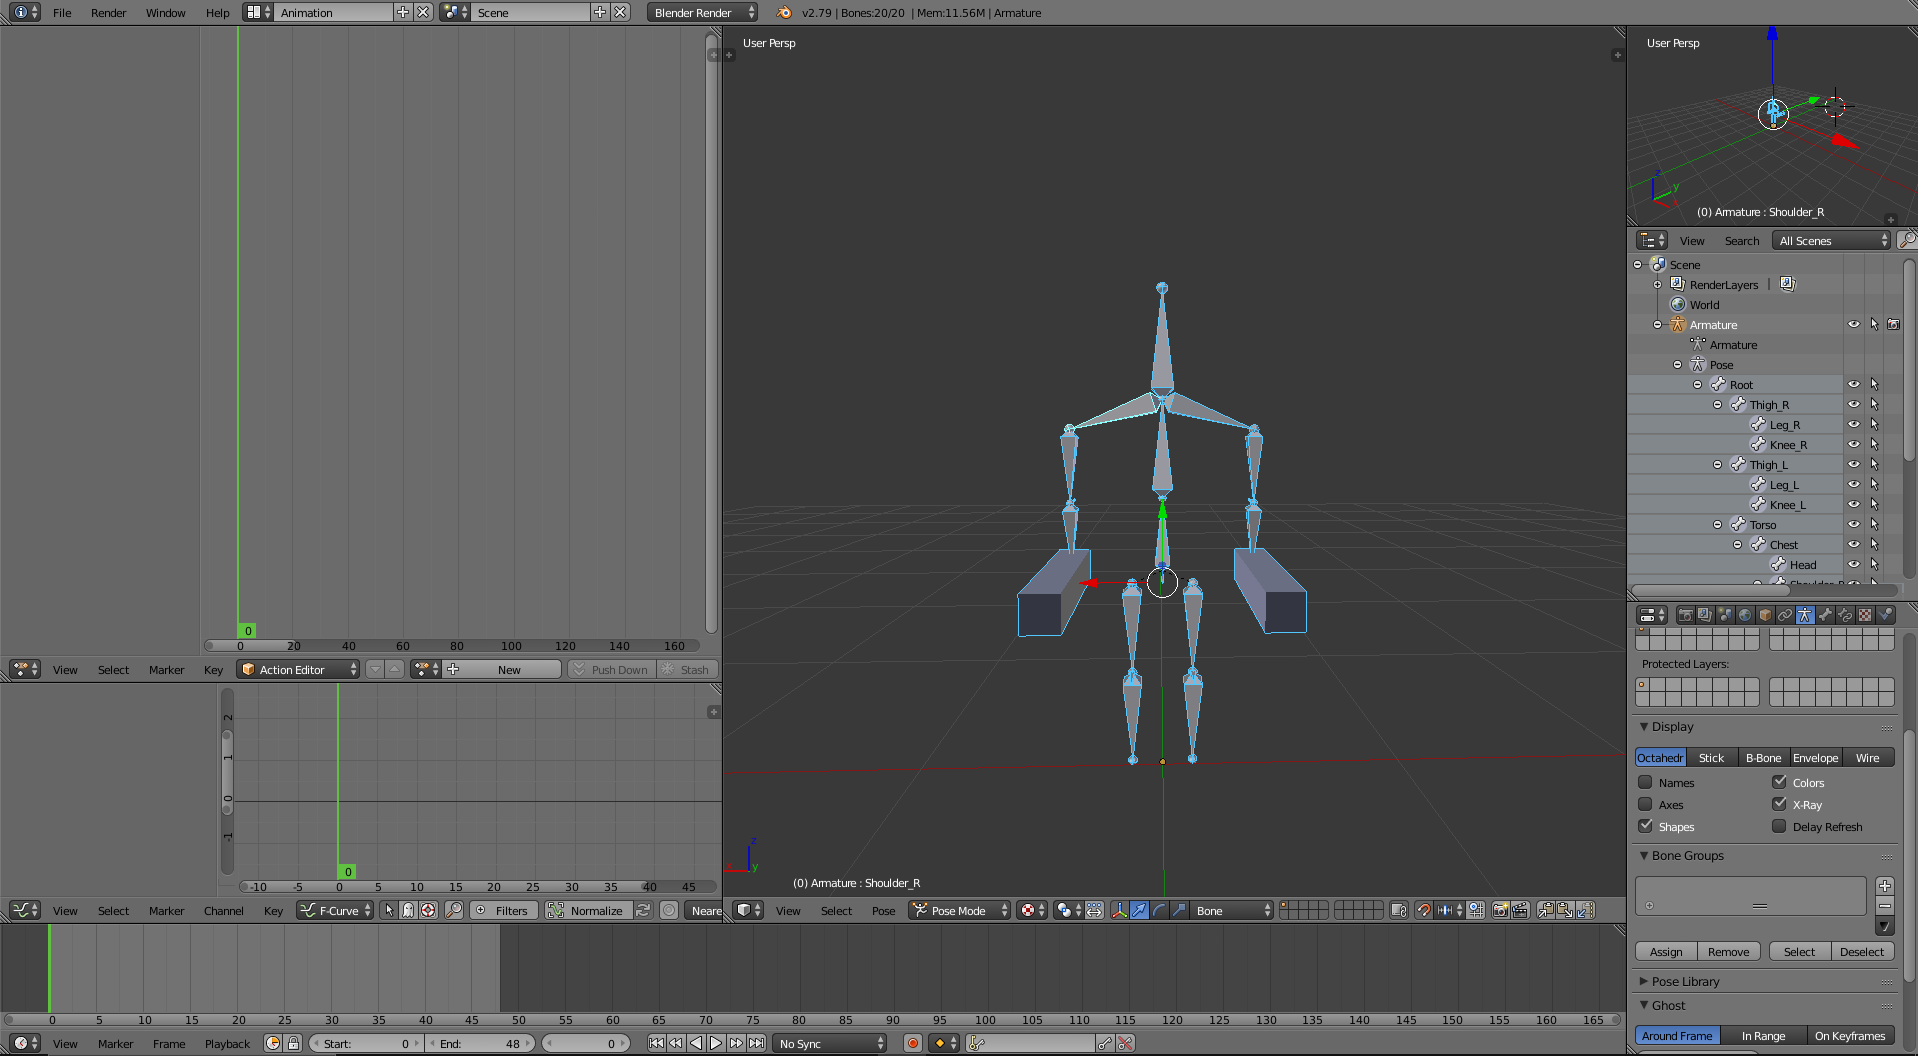
Pose mode
We often use pose mode in animating as its very handy when it comes to making the workflow faster. With pose mode you are able to change each and every bone's individual coordinate and rotation. Pose mode is mainly made to be used with Bones as it can easily change characters's poses.
-
Here's a video for you to watch so you can have a visual explanation of what you can do with pose mode.
Adding bones and Deleting stuff
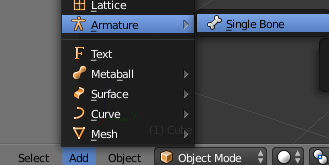
To add bones, switch to Object Mode and navigate to Add Armature Single Bone
As an alternative to using the menu bar, you can add a bone directly from the viewport. While in Object Mode, press Shift + A to open the Add menu, then choose Single Bone.
When you want to remove an object from the scene, first select it and press Del. A confirmation dialog will appear, allowing you to confirm or cancel the deletion to avoid accidental removals.
Starting with animations
You can download the Epic Fight Player Animation Rig and use it in [Blender] to create animations for the Epic Fight player.
Once you're done, export them using the Epic Fight Blender JSON Exporter Add-on.
Animations made with the Epic Fight Player Animation Rig can be applied to any biped (humanoid) entity.
However, they are not compatible with non-humanoid entities such as the Ender Dragon.
Tip
You’ll likely start in the default view, so open the collapsible menu and choose the Animations tab.
The tab selection menu is usually located at the top of your screen as well.
You may also use the and arrows on your keyboard to go to the next frame.
AutoKey
Viewport
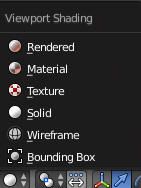
You can change the viewport mode to view objects from different perspectives, each offering specific visual insights to aid your work.
For instance, the Wireframe viewport mode removes textures and shows only the object's wireframe structure. This is especially useful for seeing the shape and layout of an object in a transparent way, allowing you to clearly view and understand elements behind or within it.
The Texture viewport mode, on the other hand, displays objects with their full textures, showing all the colors, patterns, and surface details as they would appear in the final render. This mode is ideal for refining textures and verifying how they map onto the object.
Finally, the Solid viewport mode displays the object in a neutral gray tone without textures. This plain view is commonly used to analyze the object’s form, lighting, and shadow projections without the distraction of textures, helping you check how shadows interact with the object's surface.
-
Viewport Breakdown Tutorial
Weight paint
Weight paint is probably one of the most used tools when it comes to creating a rig. It serves as a way to determine the weight of influence that each vertex group (bone) will have over a vertex. It allows you to basically make the animation process easier.
Imagine if you had to manually transform the mesh of your object for each pose and key frame you wanted to make, it would take months to make a single animation as it would be very time consuming, so Bones where created so now you only need to interact with them, but how do you determine the mesh transformations depending on each bone, well thatsll all calculated by weight paint.
There isn't a proper way to show you how to deal with weight paint, but basically, when assigning a bone group to an object it'll create a vertex group which you can set the weight for each vertex. Mind that all vertecies need to be assigned to a vertex group for it to be exportable.
Here are two videos explaining how to use / what weight paint does. (I recommend watching them in order)
Adding Bends
Epic Fight entities and players use different player models and animations which are only made possible by using bends. Bends allow for a more natural and realistic movements.
One of the biggest questions we get from developers is how do bends work and how they can be reproduced for other custom entities or armor... Basically bends are made of three loop cuts places in the same position that can then be expanded
To add bends for entities, armors or anything so it has compatibility with epic fight, basically create 3 loop cuts (Ctrl + R), the first should be exactly on top of the knee bone (if adding bends for arms or chestplates, it would be on top of the elbow bone instead), then secondly create two more loop cuts, one of the top of the middle loop cut and the other below the middle loop cut. After that, place those two loop cuts on top of the middle one. Then from there you'll want to paint the top part and the part where said bone will bend to.
Tip
- Ctrl + numpad_plus - select the next set of vertices
- Ctrl + numpad_minus - unselect the last selected set of vertices
-
Watch this quick video we've arranged so you can have a more visual experience of how to add bends.
Warning
The KeyBinds used in the video/referenced here may not work on newer versions of blender like 3.6
UV Mapping & Texturing
UV Mapping stands for "UV coordinates mapping" in the field of computer graphics and 3D modeling. It is a technique used to map 2D textures onto 3D surfaces of a computer-generated object. The term "UV" refers to the 2D coordinate system used to represent the 2D texture image, where U represents the horizontal axis and V represents the vertical axis.
You can change your screen to UV editting mode by going to the top of your screen and changing the screen layout.

-
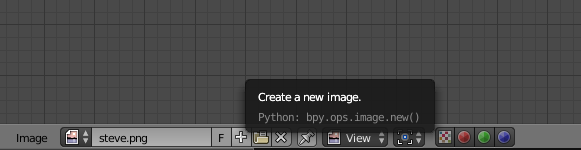
You can create new textures by clicking this button
-
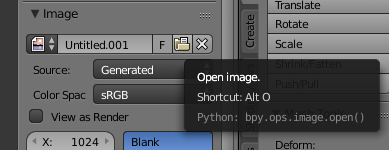
You can also assign existing textures by clicking this
Fixing issues in between bends (Loop Cuts)
This can result in unintended visual artifacts or texture stretching, as [Blender] struggles to decide how to apply the texture within these tight, angled sections. Understanding and addressing this challenge is crucial for achieving smooth, high-quality textures on complex models.
A few solutions to this issue include arranging the loop cut spaces carefully by stretching the UV maps toward either the top or bottom, depending on the specific part you are working on.
The first step is to switch your window to Edit Mode. If you're unfamiliar with how to use and navigate Edit Mode, you can learn more by checking out the Edit & Object Mode Basics guide on this page!
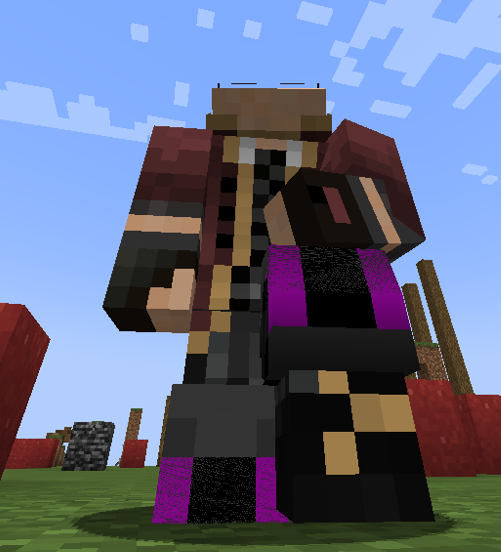
This is an example of what you may face when patching armors, making entities or overall adding bends
- Ctrl + numpad_plus - select the next set of vertices
- Ctrl + numpad_minus - unselect the last selected set of vertices
The next step is to extend the UV mappings to align with the upper and lower sections accordingly. For each plane generated between the loop cuts, follow these steps:

- In UV edit mode, Select the planes that have overlapping textures.
- Extend their vertices to utilize either the upper or lower portions of the texture, depending on their position in the leg or arm bends.
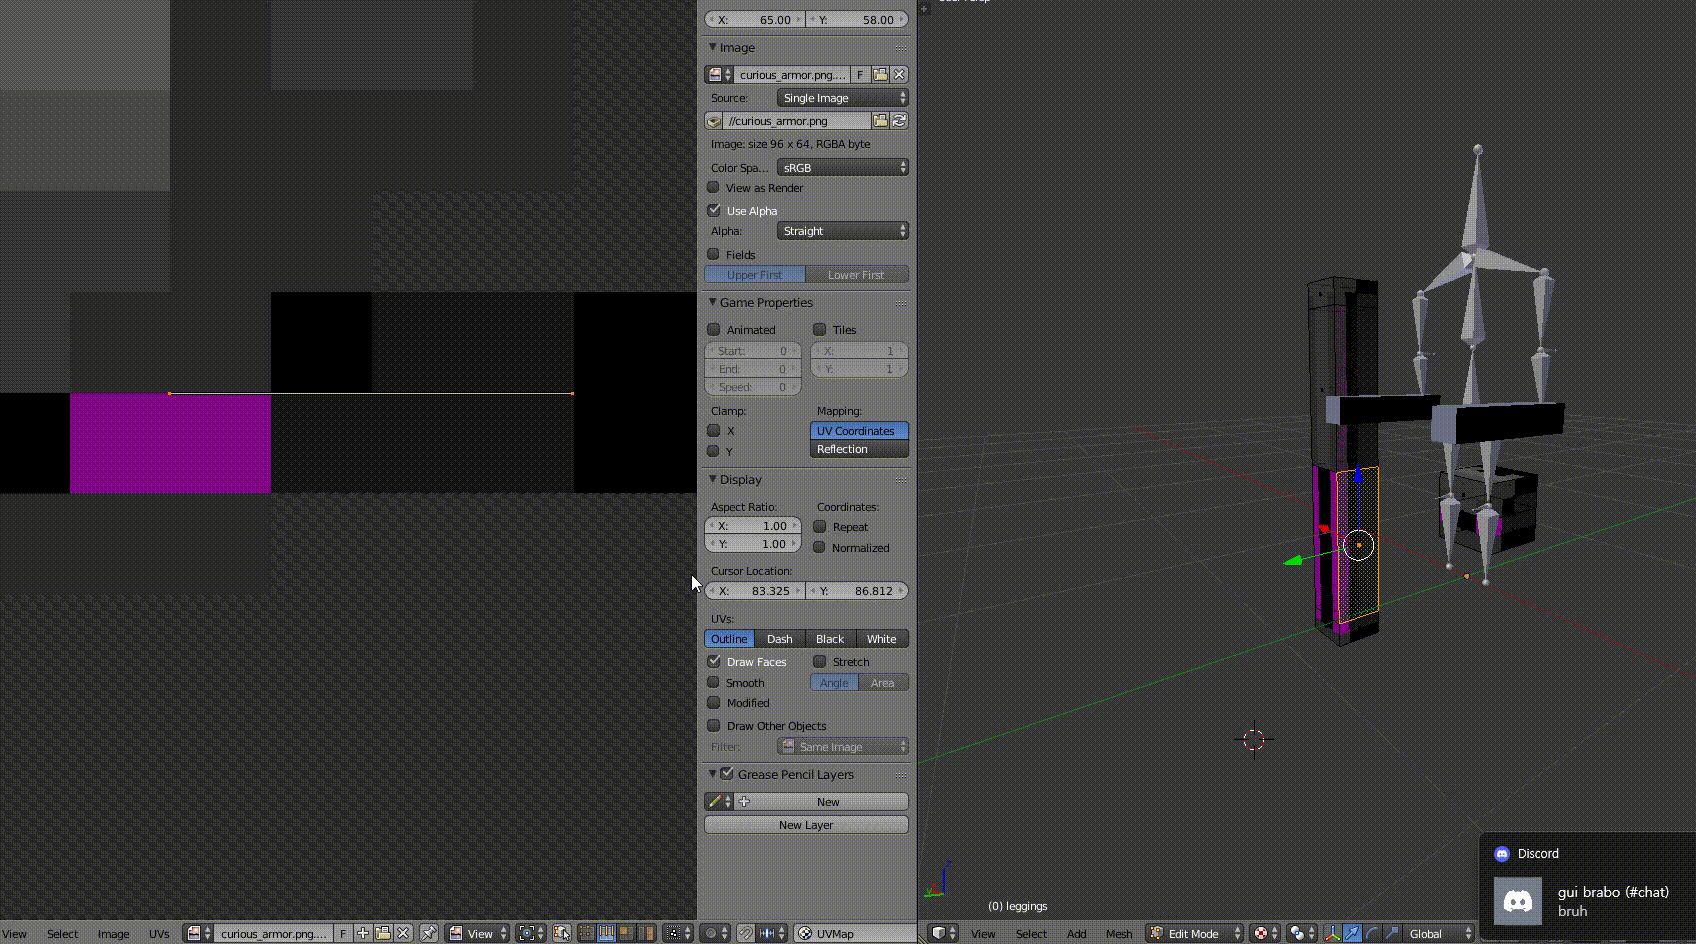
This will ensure each section accurately displays the intended texture details based on its placement in the model.
Warning
Make sure to select UV selection and display mode to Edge
Snap Transform
X-Axis Mirror
You may find yourself having to make two different animations for one single action. For example, if you wanted to make a "Holding Torch" arnimation you'd need to mirror your animation on the X-Axis in order to have both the main and offhand variants of said animation.
You are able to do this kind of mirroring by copying the current pose (Ctrl + C), then selecting the right side (Ctrl + i) and finally in a newly created action you can then paste said animation by pressing Shift + Ctrl + V
Quote
If you want to mirror your animation form the left side to the other side during pose mode you just need to select the whole left side then copy the pose with Ctrl+C.
After that press Ctrl+i to go to your right side and finally press Shift+Ctrl+V to paste the the X flipped pose, that way you'll have a perfect mirror of both side
Transparency
To resolve this, start by entering Object Mode. Then, navigate to the Materials tab in the Properties panel. In the settings for your selected material, find and enable the Transparency option. Adjust the Alpha setting as needed to control the level of transparency for the material, allowing the object to display as intended. This fix ensures that objects relying on transparency or opacity settings retain their correct visual appearance in [Blender].
You may also refer to the resource linked below for additional guidance:
Black textures where it should be transparent.
Quote
Materials in [Blender] can be set to be transparent, so that light can pass through any objects using the material. Transparency is controlled using an “alpha” channel, where each pixel has an additional value, range 0-1, in addition to its RGB color values. If alpha=0, then the pixel is transparent, and the RGB values for the surface contribute nothing to the pixel’s appearance; for alpha=1, the surface is fully opaque, and the color of the surface determines the final color of the pixel.
![]()
In [Blender], there are three ways in which the transparency of a material can be set: Mask, Z-Buffer and Raytrace. Each of these is explained in more detail below. The Material Preview option with a sphere object gives a good demonstration of the capabilities of these three options.
-
That's it for now !
If you're considering diving into [Blender] and beginning your learning journey, I highly recommend exploring the comprehensive tutorial playlist curated by Derek Banas.