Custom Trails
In Epic Fight, we've introduced a way for users to add their own unique touch to sword trails. Not only can you customize the trail's colors, but you can also change its textures to fit your style!
In this guide, we'll walk through the process of creating custom trails for each weapon or item.
Making the pack.mcmeta file
First, you'll need to create a pack.mcmeta file. Here's how to do it:
-
Create the File:
- Start by creating a new text file.
- Rename the file topack.mcmeta. Ensure that file extensions are visible so you can properly change the extension (e.g., from.txtto.mcmeta). -
Edit the File:
- Open the file with a text editor and add the following code for your datapack to function properly:
pack_format Values
| Version | Value |
|---|---|
| 1.16.5 | 6 |
| 1.17.x | 7 |
| 1.18.2 | 8 |
| 1.19.2 | 9 |
| 1.20.1 | 15 |
| 1.21.1 | 48 |
Making the folder path
To set up the folder structure, follow these steps. Each folder or file must be nested inside the previous one as per the hierarchy shown below:
assets "modid" item_skins "registryname".json -
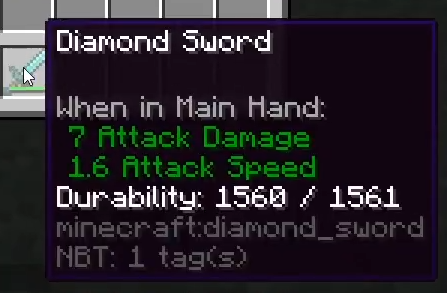
modid: The mod ID is usually the name of the mod. You can often find it by checking in-game item tooltips (pressF3 + Hto enable Advanced Tooltips) or by looking at commands or messages related to the mod.
For example, if the tooltip for an item showsmodid:itemname, the part before the colon(modid)is what you’ll use to name the"modid"folder.
-
registryname: To locate an item’s registry name, pressF3 + Hin-game to enable Advanced Tooltips. Then, hover over the item to view its registry name.
Tip
When you create the registryname.json file under the referenced file directory, make sure the file extension is changed from .txt to .json
Trail customization
After creating the .json file, you can proceed to fully customize your trails to match your vision. This is where you define the visual characteristics of the trail, such as its color, position, behavior, and texture. Below is a detailed example and explanation of how your .json file should be structured:
{
    "trail": {
        "color": [51, 235, 203],
        "begin_pos": [0.0, 0.0, -0.2],
        "end_pos": [0.0, 0.1, -0.7],
        "lifetime": 4,
        "interpolations": 4,
        "texture_path": "epicfight:textures/particle/swing_trail.png",
        "particle_type": "epicfight:swing_trail"
    }
}
This is an example
.json file specifically designed for the diamond_dagger item in Epic Fight. You can utilize any RGB color picker to customize the trail's color to your preference. Additionally, feel free to experiment with the various values to fine-tune the trail's appearance and behavior until it matches your vision.
Here’s a list of fields you can use in the weapon trail .json:
| Fields | Info |
|---|---|
| "trail" | Defines the trail configuration inside the item skin file. |
| "color" | Specifies the RGB value for the trail color. |
| "begin_pos" | The starting position of the virtual stick that draws the trail for each frame. |
| "end_pos" | The ending position of the virtual stick that draws the trail for each frame. |
| "lifetime" | The duration (in ticks) that the trail remains visible. |
| "interpolations" | The number of vertices created for each tick to smooth the trail. |
| "texture_path" | The file path for the custom texture used for the trail. |
| "particle_type" | The registry name of the trail. |
Custom trail textures
You can also create custom trail textures by following this folder structure: assets/epicfight/textures/particle/"modid"
Inside the "modid" folder, you can add as many texture files as you need. To use these textures, simply reference their file paths in the "texture_path" field of your trail .json customization file.
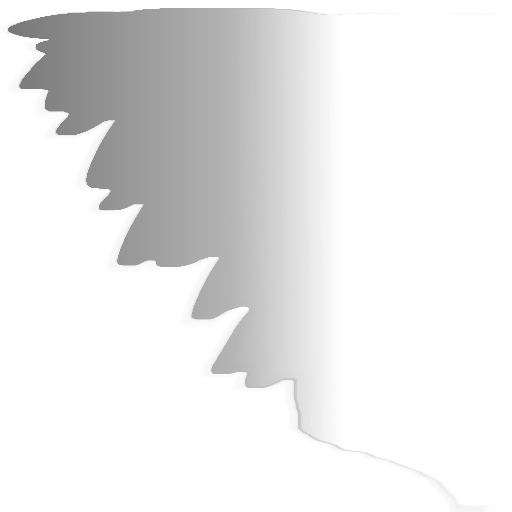
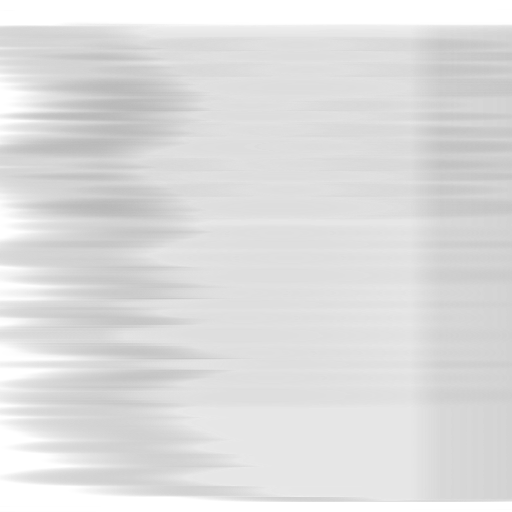
Here are some examples of trail textures used in Epic Fight:
Trail data customization
You can also customize the trail data in-depth for each animation. For reference, you can check the examples in our repository to see how it's applied across different animation data.
Make sure to use the following folder structure to organize your animation trail data: assets/epicfight/animmodels/animations/biped/combat/data/animation_name.json
This structure ensures that your animation-specific trail data is properly recognized and applied during combat animations.
Here's an example of custom trail data:
| Parameters | Info |
|---|---|
| "trail_effects" | Used in the animation data file to define the trail effects. |
| "start_time" | The time in the animation when the trail should start drawing. |
| "end_time" | The time in the animation when the trail should stop drawing. |
| "joint" | The parent joint for positioning the trail (e.g., "Tool_R"). |
| "item_skin_hand" | Specifies the hand where the item skin data is applied (e.g., "main_hand"). |
Reference